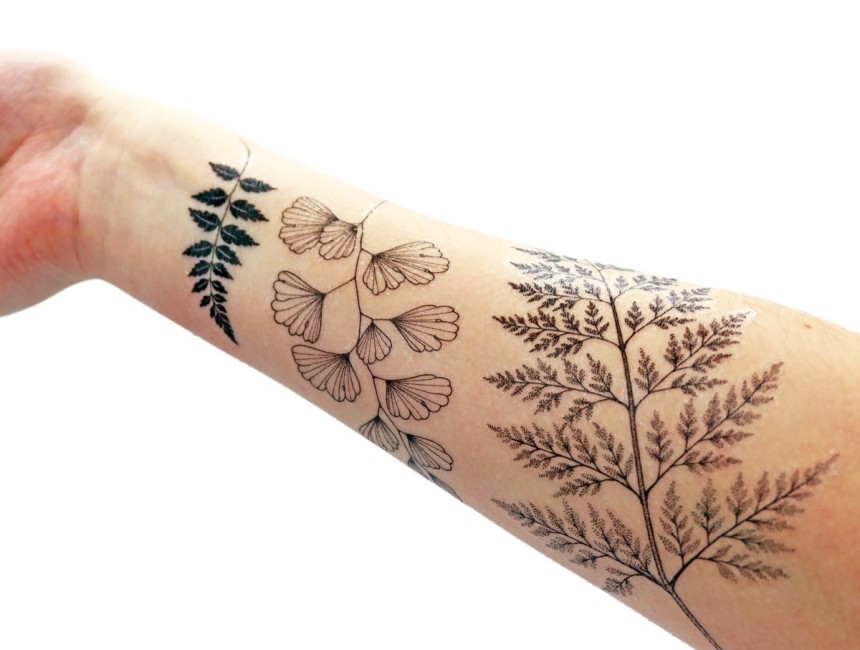
How to Apply Temporary Tattoos [& Stop Being a Nerd]
Do you have an aversion to pain?
Are you frequently plagued by buyer's remorse or suffer instant regret when making decisions?
Then tattoos probably aren't for you.
However, if you want to pretend you're a biker, rock star, or literally anybody else on the planet, temporary tattoos are a painless way of finally being cool.
Here's our step-by-step guide on how not to be a nerd how to apply temporary tattoos.
Step 1 - Choose Your Temporary Tattoo
Whether we've made your custom temporary tattoos or you've bought them somewhere else (shame on you!), the first step in applying a tattoo is to choose the design you want.
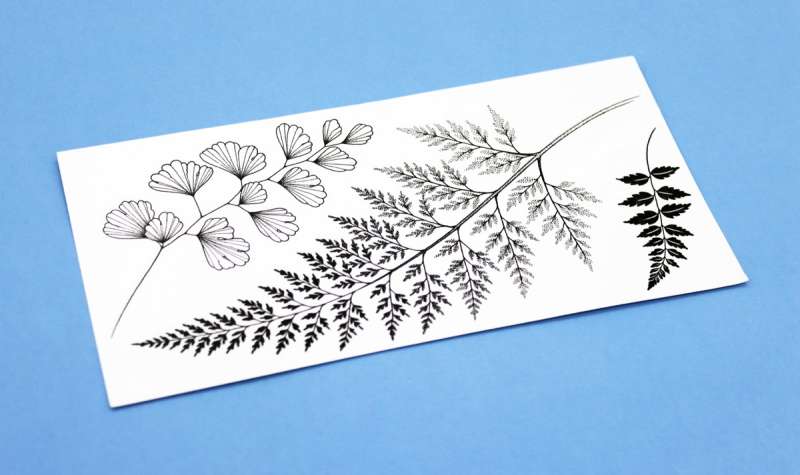
We've chosen these delicate plant tattoos. But whether you want a Popeye anchor for your forearm, 'Love' and 'Hate' on your knuckles, or a Mike Tyson tribal design on your face, the process is exactly the same.
Step 2 - Prepare Your Skin
Before applying the tattoo, make sure the area of your skin where you want to place it is clean, dry, and free of lotions and oils. Most temporary tattoo manufacturers advise shaving the area for application if you're a particularly hairy beast.
Even though the tattoo will stick better to a hair-free zone, we think shaving your body for a fake tattoo is a bit extreme.
But if you want to shave, have at it!
We didn't make our model shave ... she's naturally hairless like a young Patrick Stewart.
Step 3 - Cut Out The Tattoo & Remove the Protective Film
With your tattoo chosen and your skin ready (Did you shave? We bet you did!), carefully cut out the design and remove the protective film.
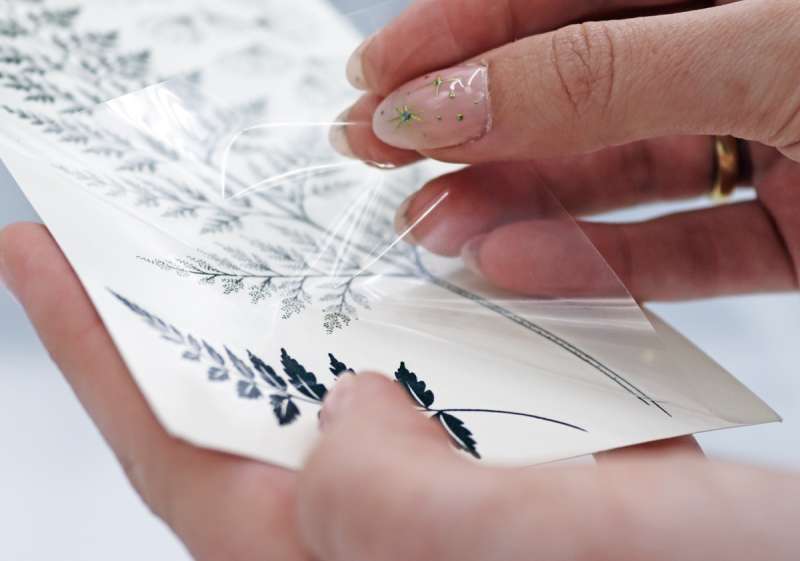
Peel back the transparent and recyclable film as though you're peeling a banana for a hungry Silverback ... quickly and very carefully.
And yes, we forgot to cut the tattoo out before taking the photo.
Oops.
Step 4- Place the Tattoo on Your Skin
Next, place the tattoo face down on the area of the skin where you want it to be. Knuckles, faces, necks and buttcheeks are where all the cool kids apply them.
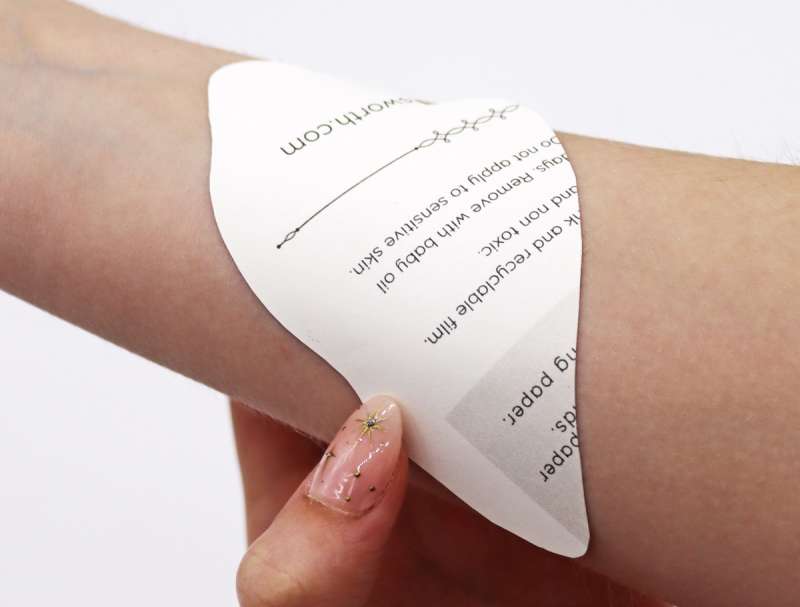
Press down firmly on the tattoo, making sure it's completely flat against your skin.
Hold if necessary.
Step 5 - Apply Damp Cloth and Hold
Grab yourself a damp cloth or paper towel and press down on the back of the tattoo for about 30 seconds to activate the adhesive and allow the tattoo to stick to your skin.
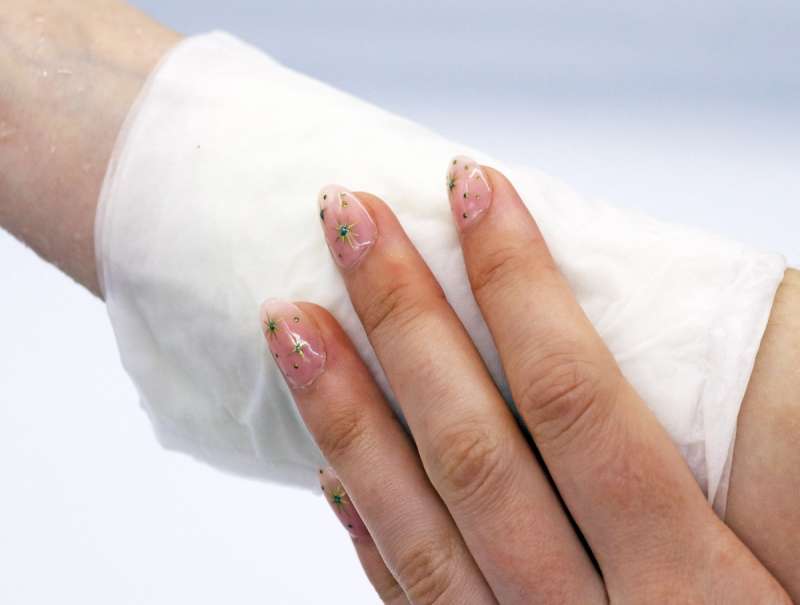
The cloth or paper towel will feel really cold, which doesn't seem worth mentioning, but if the pain of having a tattoo scares you, you're probably a bit of a wimp.
Step 6 - Peel Off the Backing Paper
Once the time is up, very carefully remove the cloth and gently peel off the paper backing. Forget about gorillas this time. Be more careful than you are when selecting the recipient of a risque WhatsApp message.
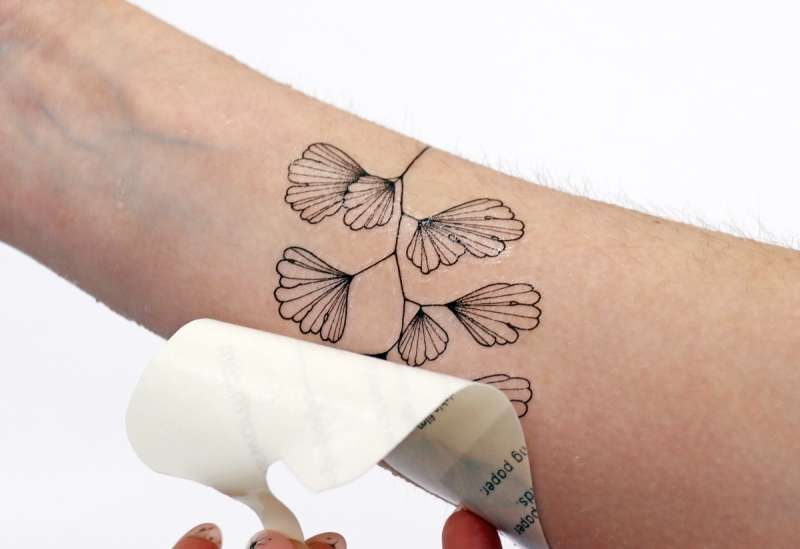
If the tattoo is not fully adhered, you can press down again with the damp cloth for a few more seconds.
Step 7 - Let it Dry, Let it Dry, Let it Dry.
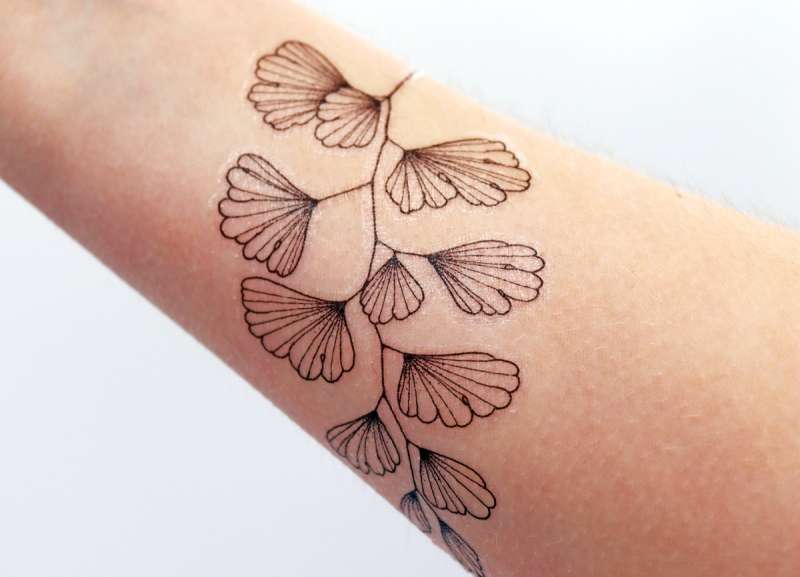
After removing the paper backing, let the tattoo dry completely before touching or moving it. This usually takes about 5-10 minutes, but it's best to wait longer to ensure the tattoo is fully set.
Congratulations, you're no longer a nerd you've applied your first temporary tattoo!
Are You Addicted to Tattoos Now?
Tattoos are very addictive, so if your first taste of getting inked has left you wanting more, you should go out and get a full sleeve or neck tattoo!
No?
How about designing your own full colour or metallic temporary tattoos to use at parties, festivals, or weddings?
We've got a FREE design service that will help you release your ideas from your brain and turn them into fun and tangible products. If you buy in bulk, you can get each temporary tattoo sheet for as little as 17p, which will hold as many tattoos as you can squeeze onto it.
Contact us today to make your own tattoos and help other people to stop being nerds.